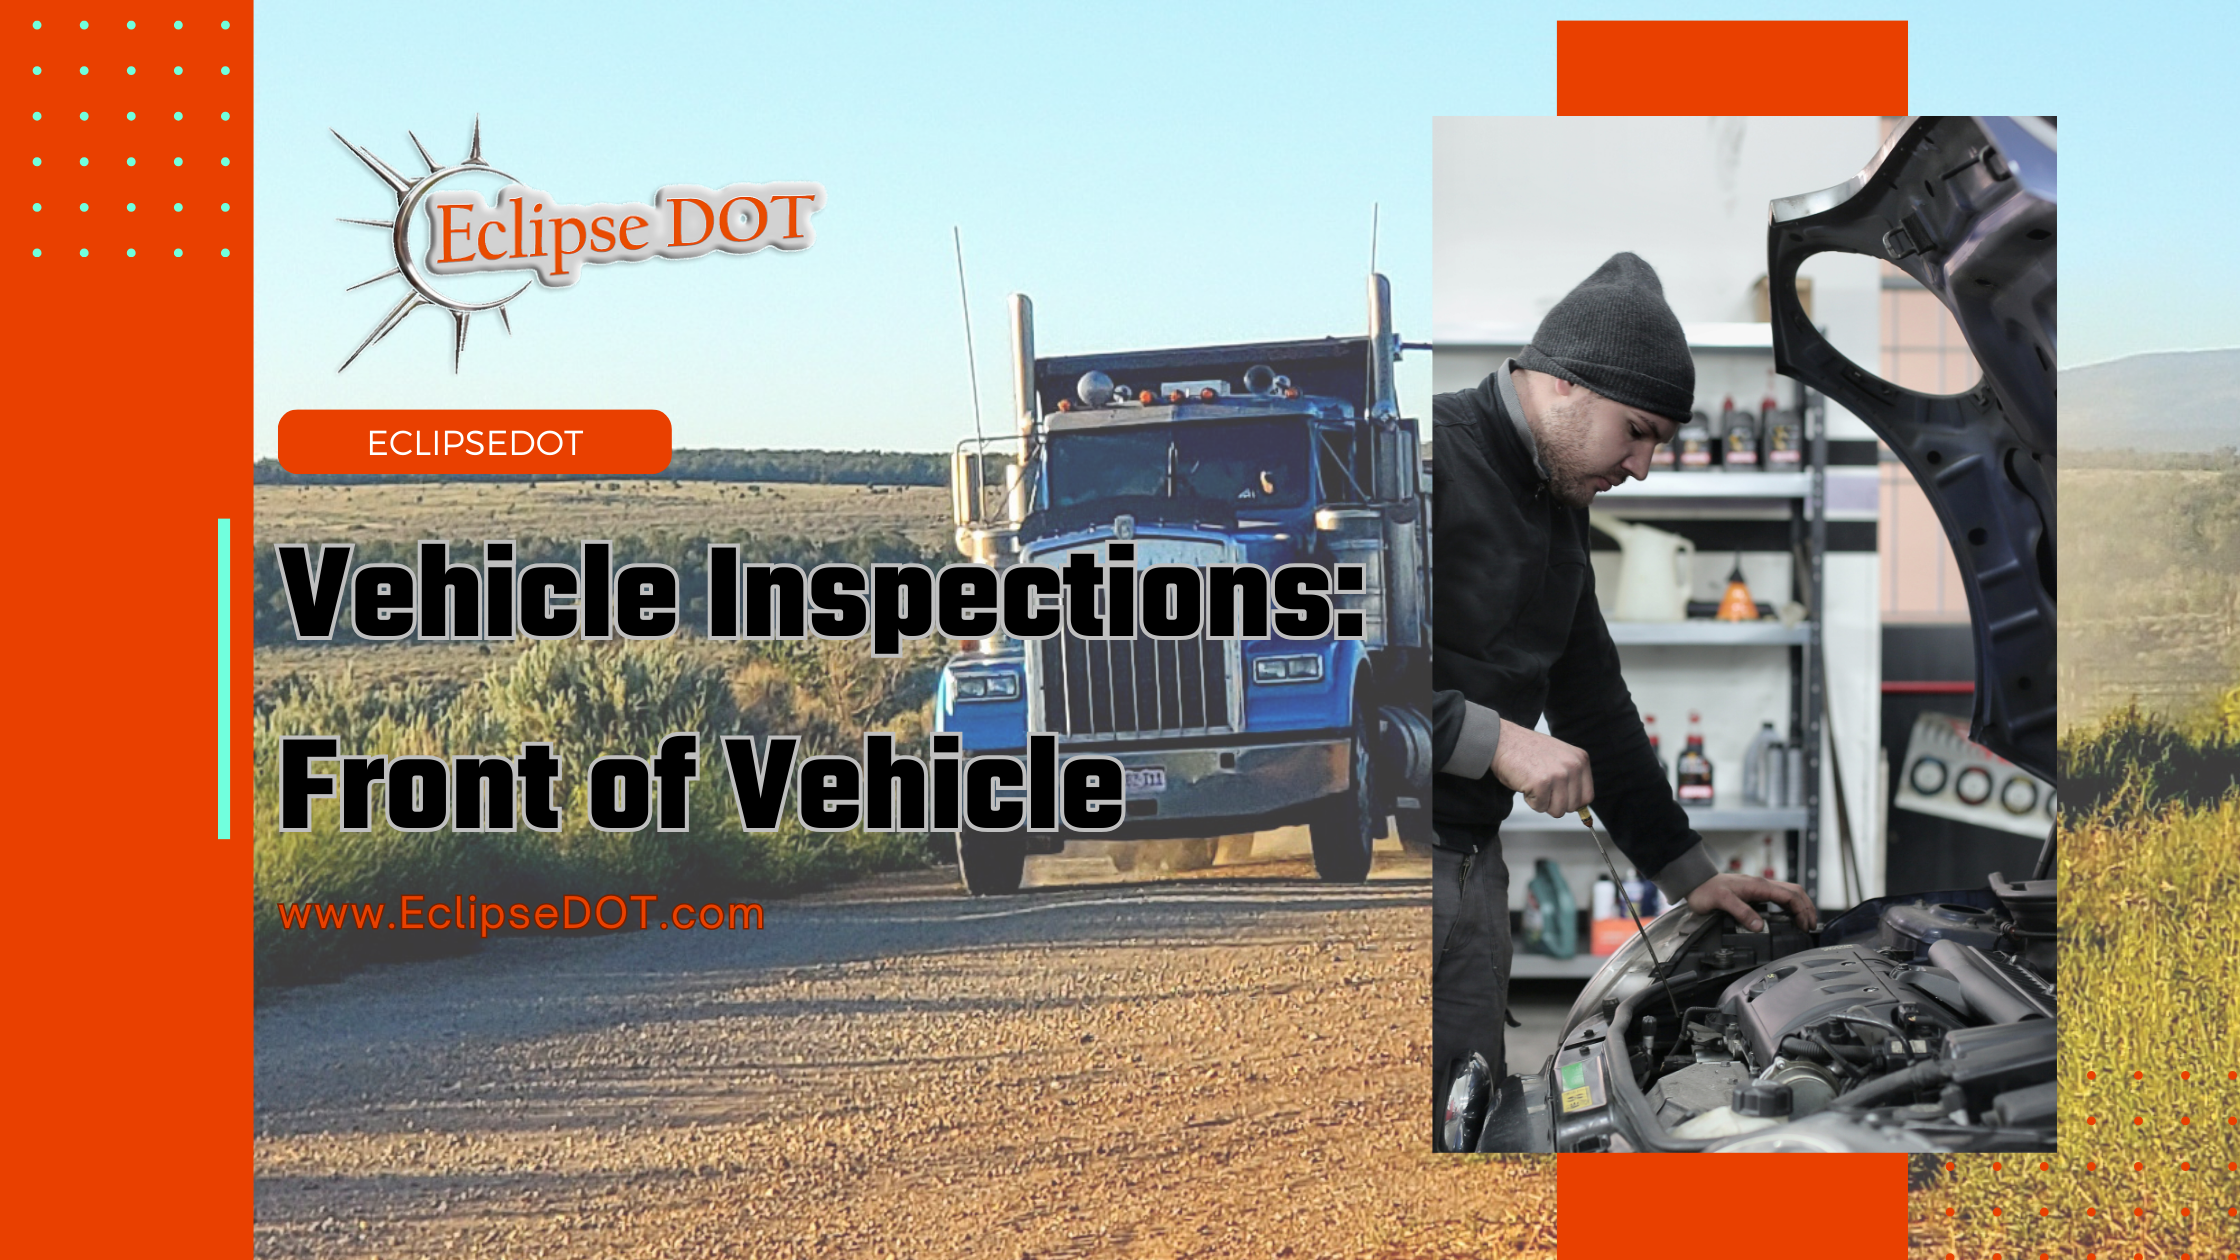
We are back like we never left.
Today we continue our series on the ins and outs of vehicle inspections and are discussing the front of the vehicle. Which includes everything from the license plate to the engine compartment.
The first thing we at Eclipse DOT like to look at is……..
If the truck is level.
To do so, make sure you are parked on a flat and level surface so you can evaluate the stance of the vehicle.
Is it leaning to one side or the other? If so, this unit needs a more in-depth inspection into the reason behind it being off kilter.
It might be something super simple like yoru load is not centered, or it might mean that you have a suspension issue that needs to be looked at.
The next thing we are going to look at is the lens condition on all of our lights on the front of the vehicle. These includes the:
- Headlights
- Turn signals
- Clearance lights
- Fog lights (you have them)
Make sure they don’t have cracks, chips, or breaks and they are mounted and secured properly.
REMEMBER- if you are preparing for the skills test to get your CDL, like we do with all other portions of the vehicle inspection, whatever we inspect – we touch and verbalize what we are inspecting.
Next, take a peek under the truck. Do you see any puddles, leaks, or dripping? If you do, that’s a red flag and you need to stop the vehicle inspection and further investigate those leaks.
Moving right along, we are going to open up the hood of the vehicle and begin inspecting the engine and the items housed in the engine compartment.
Making sure that these components are in good working order is important. Not only for our safety but also for the safety of everyone else on the road.
WE like to start by looking at the components near the top of the engine compartment and work your way down to the ground. This will help ensure that we don’t miss any critical inspections.
The first thing we check is our engine oil. This is as simple as pulling out the dipstick wiping it off, sticking it back in and pulling out again then looking at the stick to make sure the oil level is between the add and full mark.
We strongly encourage you to make sure that you follow your company policies on when to change the oil.
The next thing to check is that your air filter is mounted and secured properly, and that it is in good working condition.
Now check your hoses throughout the engine compartment to make sure there are ABC’s or Abrasions, Bulges, or Cuts on any of the hoses.
Moving on, we are going to examine the steering components. This will include checking the level of the power steering fluid, examining the drag link, the pitman arm, the steering box, the steering shaft and all hoses that allow these components to operate in harmony.
Now when you move to inspect the rest of the steering components, you should find them all in the same vicinity. For safety purposes, it is super important to make sure everything is mounted and secured properly so it does not come loose or even come apart while we are on the road.
You also want to look for cracks, bends, or breaks on each component.
This should lead down to the steering box. Inspect this component for welds holding it together, cracks, or other forms of extreme ware. As we do with all other components, we want to make sure this is also mounted and secured properly, so we can stay headed in the right direction!
You will want to do the same inspection on the pitman arm and drag link, ensuring it is in the proper place, mounted and secured properly, and that it has not endured any damage that is compromising its integrity.
The next item will be the air compressor.
This supplies air for our airbrake system. While all aspects of our inspections are important, the air compressor is a major safety component that needs to be in tip top shape to ensure not only our own safety, but also the safety of those around us.
Now is the time when we inspect our coolant reservoir, ensuring it is filled to the proper level and that the reservoir itself is mounted and secured properly within the engine bay.
We also want to be positive that all the hosing is secured and that there aren’t any breaks, cracks, or abrasions that are causing our coolant to leak into the engine compartment.
Next check that your water pump is in good working condition. Make sure it is mounted and secured properly. If it is belt driven, make sure that belt is in good shape- i.e., no signs of fraying, cracking, or stripping off the brackets that keeps it on the pump itself.
And finally, yes finally, the alternator.
If you were to find exposed wires in your home, would you ignore it? Probably not. And you should treat your alternator the same way.
Making sure there are no exposed wires that are mounted and secured properly, will help be sure your vehicle is roadworthy and safe for operation on a public highway.
Now you know what to look for when you open up your hood!
Want more information? See the list below for other guidelines on vehicle inspections under the hood.
Remember, keep the rubber side down and stay safe out there!
Here is a list of times to check in the engine compartment, in order from top to bottom and passenger side to drivers’ side
- Passenger side (usually)
- Air filter
- Engine oil level
- Coolant level
- Alternator
- Almost always belt driven
- Water Pump
- Belt or Gear driven
- Turbo
- Hoses
- Fan
- Driver Side (Usually)
- Hoses
- Air Compressor
- Power steering pump
- Power steering reservoir
- Fan
- Suspension
- Spring hangers front and rear
- Springs
- Shocks
- Steering
- Steering column
- Pitman’s arm
- Drag link
- Tie rod
- King pins
- Brakes
- Air lines
- Brake Chamber
- Slack adjuster / Pushrod
- Drums / Shoes or Rotors / Pads (rotors only on newer trucks still rare to see) most trucks have drum brakes
- Wheels
- Rim
- Tire
- Condition
- Tread depth
- Inflation
- Lug Nuts
- Axle Oil level / Axle Seal